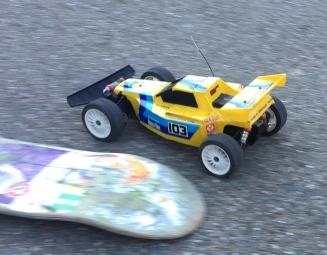
Welcome on this website, talking about the KYOSHO Rocky 4wd RC car, from the 80’s.


Thank you for your visit.

Welcome on this website, talking about the KYOSHO Rocky 4wd RC car, from the 80’s.
Thank you for your visit.
Here is a tutorial based on our experiments. Follow it to avoid doing the mistakes that we did, and be successful first time !
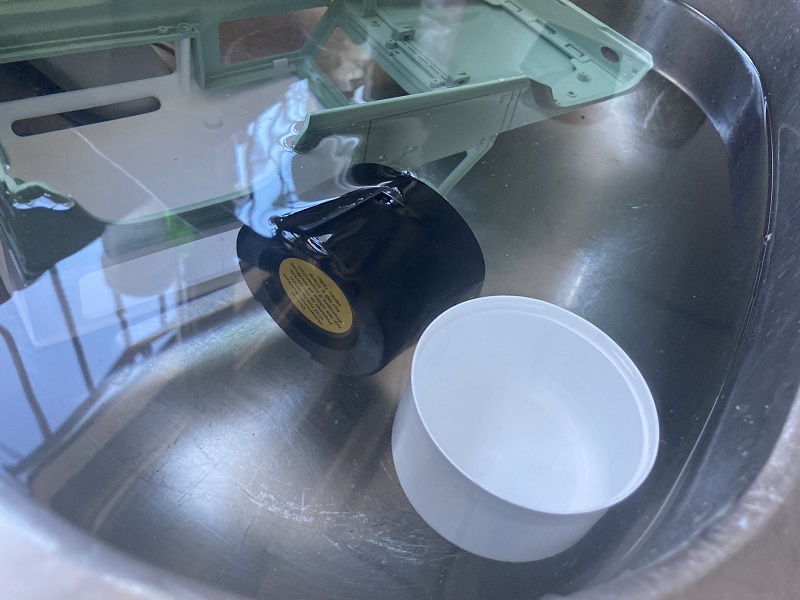
What plastic are the MN-90s made of ?
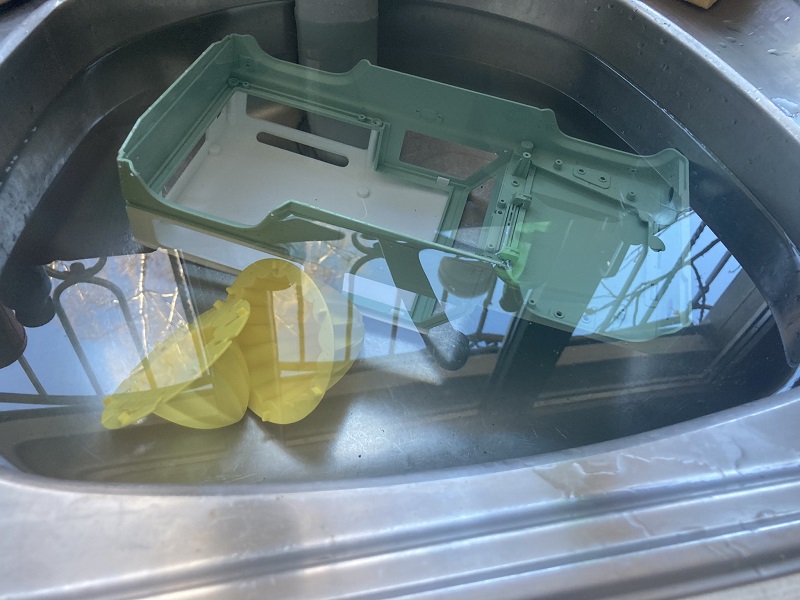
As an authentic Chinese product, no stamp applied anywhere helping identifying the kind of plastic it is made of: used mainly in the recycling phase to identify material, it seems that Chinese are not much yet concerned about that part of the life of the product. An easy way to identify if the body is made of ABS or PP, without having to burn it or use any chemicals, is simply to fill a bath with clear water and to drop the plastic in it. Guess what: ABS does sink… while PP floats ! You can verify that at home using different pieces of plastic. The majority of plastic have a discreet stamp hidden stating PP or ABS, which will confirm the nature of plastic it is made of.

How do ABS can be worked on ?
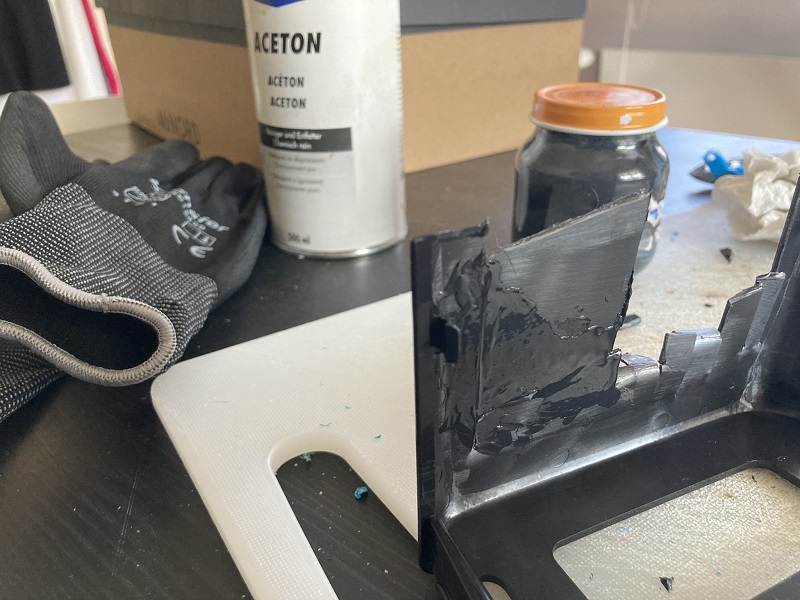
The idea is to glue, repair, weld it. You can try to burn it, to melt it and create a bound that way. Well… burning plastic stinks, is messy, damn hot and not a very peaceful way of working on a Sunday afternoon. On the other hand, ABS plastic responds well to acetone chemical. Please do not sniff acetone and always use gloves when manipulating melted plastic: extremely volatile toxic vapours destroy your brain, and the liquid goes through the skin to give blood-cancer (leukemia). Find some old ABS plastic parts, wearing the ABS stamp to ensure they are, cut them into tiny pieces, about 1cm long/wide and try to melt them using acetone in a (small) glass jar you can close nice. The melting process takes time: be patient to find the right proportion of acetone mixed with plastic so that it melts and makes a kind of liquid paste you can use as a glue or filler. Too much acetone will accelerate the melting process but will be difficult to use as a welding medium, being too fluid. Not enough acetone and the ABS will not melt, or will be too sticky, hence difficult to use for our purposes.
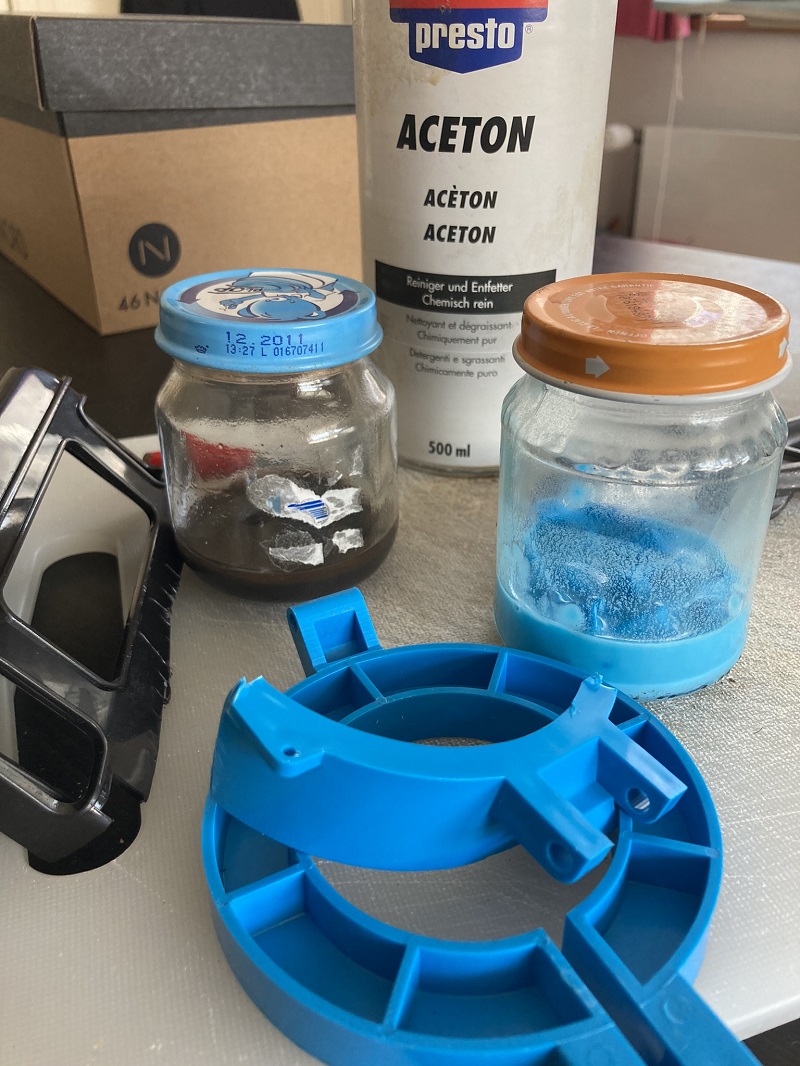
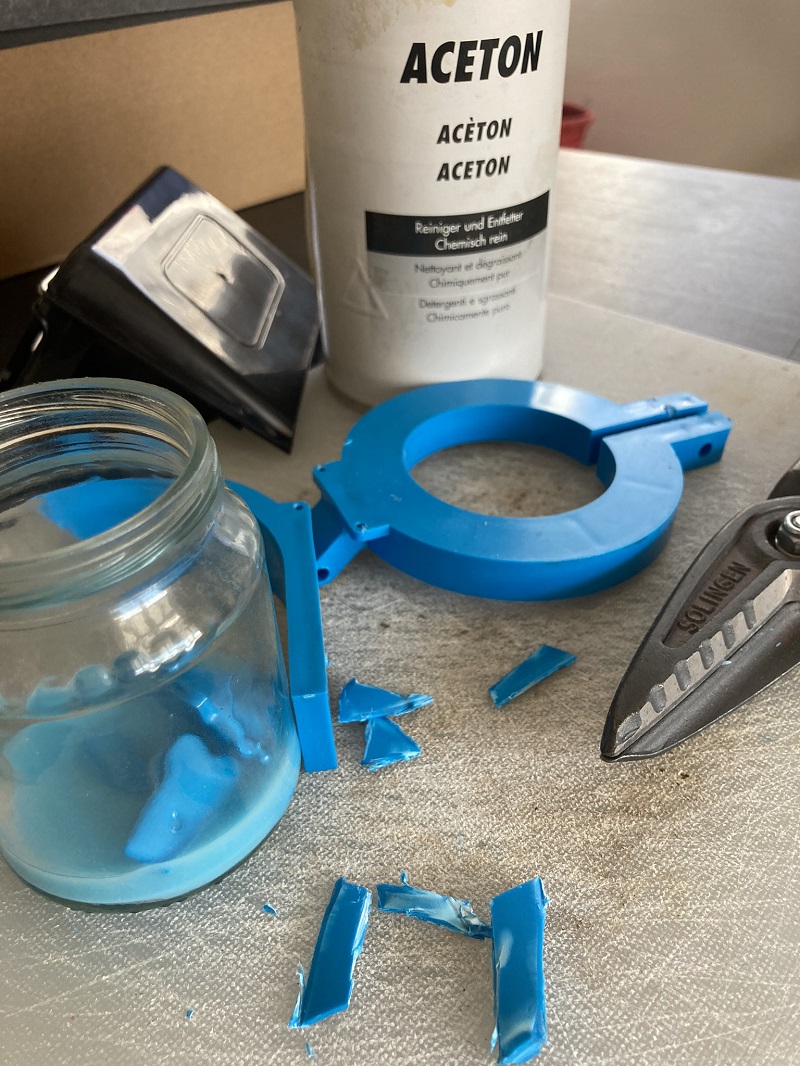
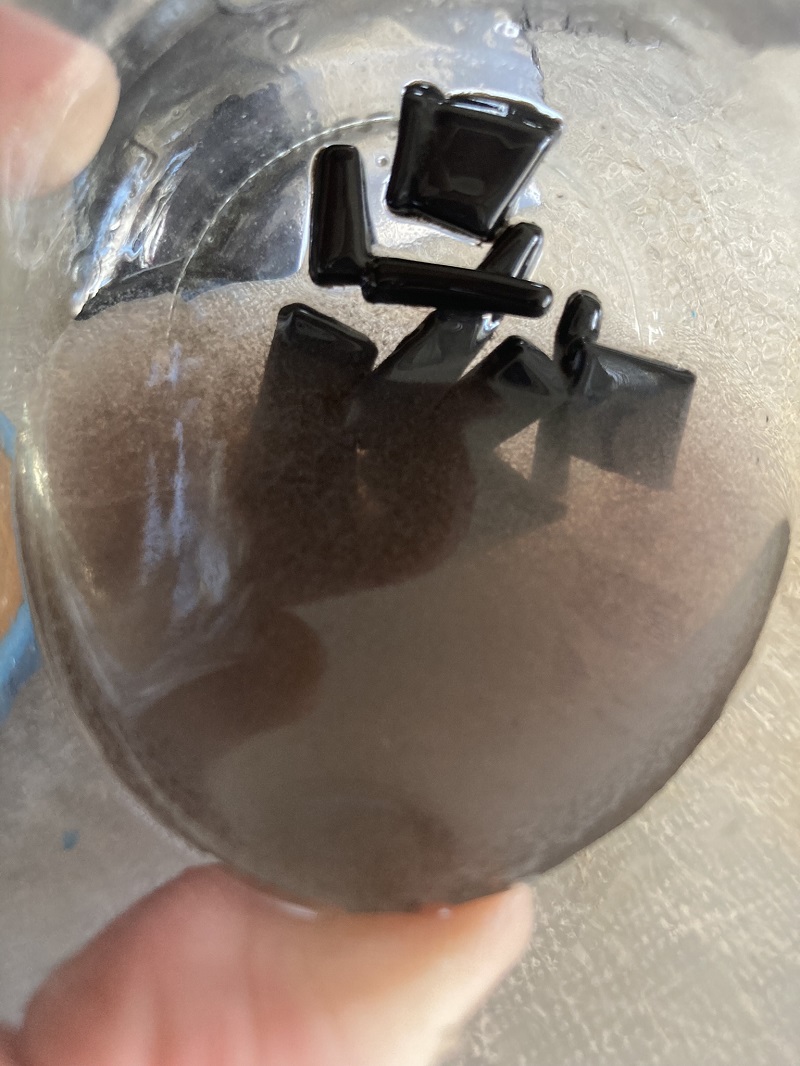

We made a ABS liquid reserve, just to see how it behaves and how fast it melts. As I was not 100% sure the MN-90 body was ABS, I made two different trials. The blue was some broken parts, duly ABS stamped. The black sample is a spare canopy that comes with the MN-90 kits, as we have more than necessary, I scrapped one to test it and, hopefully, to become the best compatible plastic bound, as it would use the same plastic that the body we want to stretch and weld. ABS plastics start to become soft and melty after just 15-20 min. But having the whole becoming plain liquid will take a few hours. The blue very hard plastic becomes a nice homogenized paste after less than 1h, the black plastic behaves a bit differently, not melting so nice. But, overall, after 30 minutes more… we obtain the perfect paste, sticky as hell, and as the acetone is very volatile, the paste gets hard and sticky very fast ! This glue is simply amazing…

Repairing a crack, welding panels, gluing parts
From the paste we prepared, we decided to make a test. I cut a panel and just put it back in a different place, to avoid having too nice and perfect lines matching together. That would be too easy and skew the test. The ABS liquid paste dries very fast, almost too fast, so it is very easy to hold the part to be glued in place, and simply wait 1 minute holding it… then it hangs by itself in place !
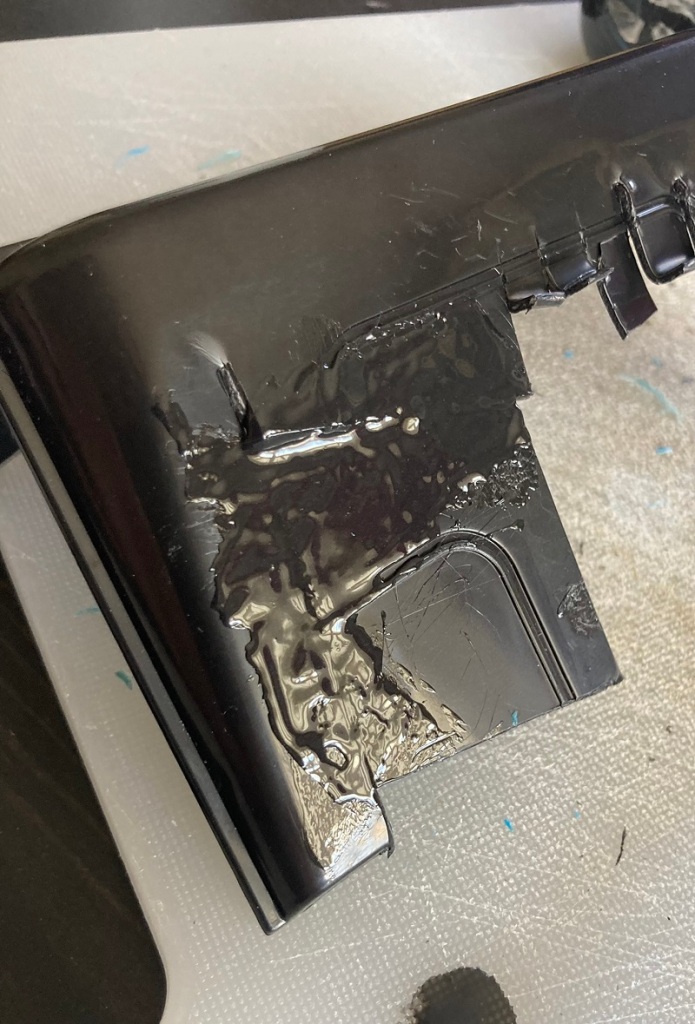

To finish the surface, of course, you need to use fine sanding paper and patience. As with any other material.
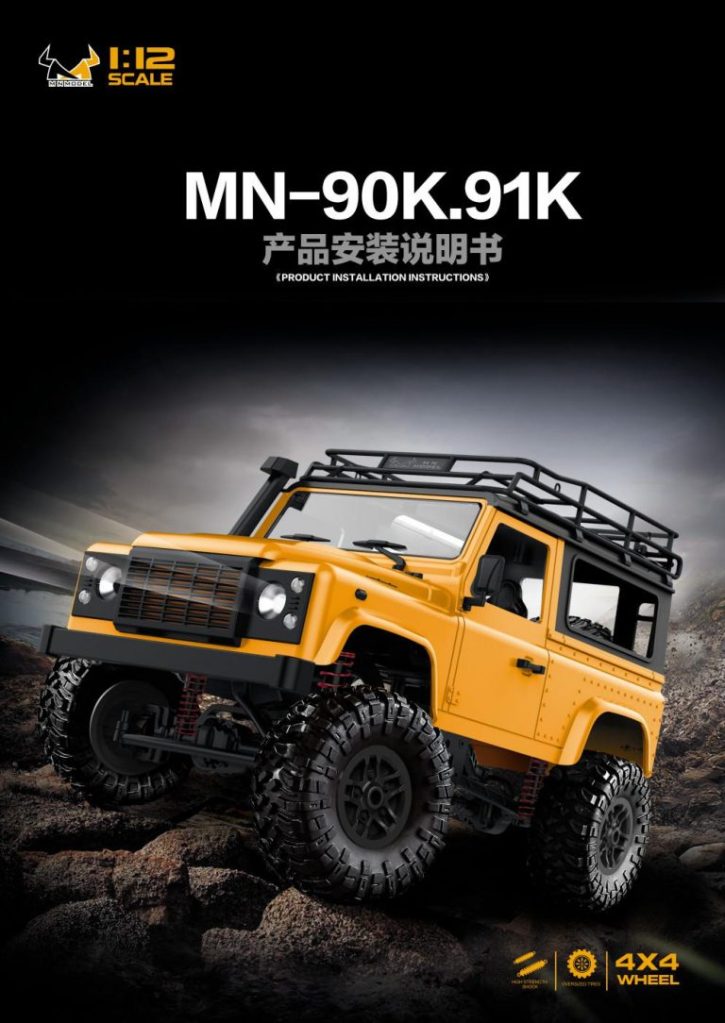
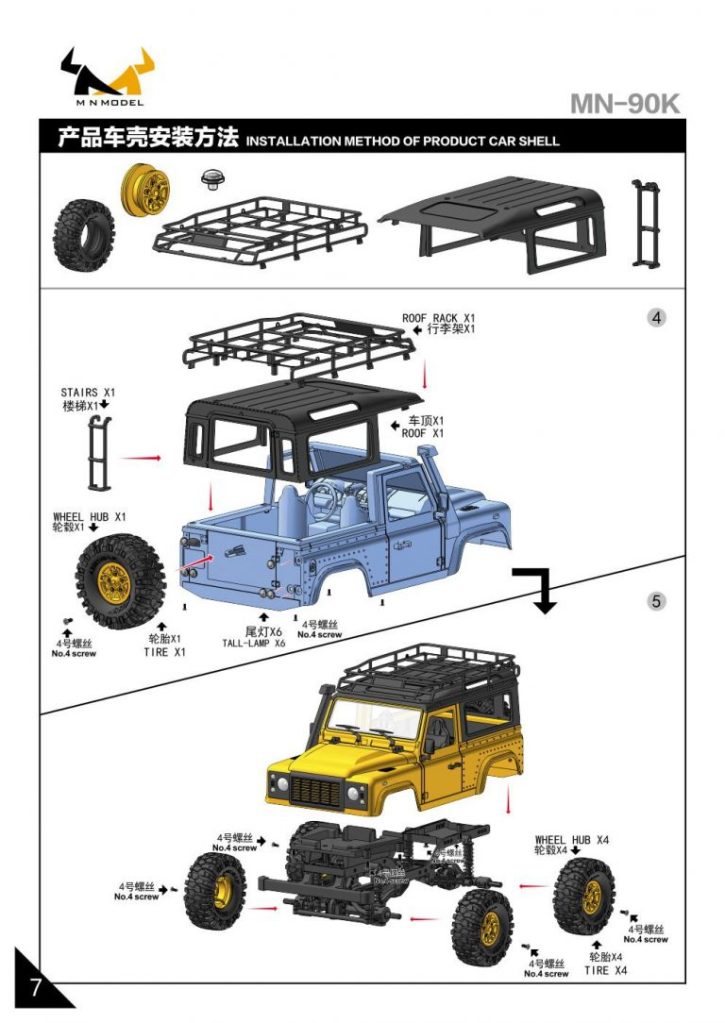
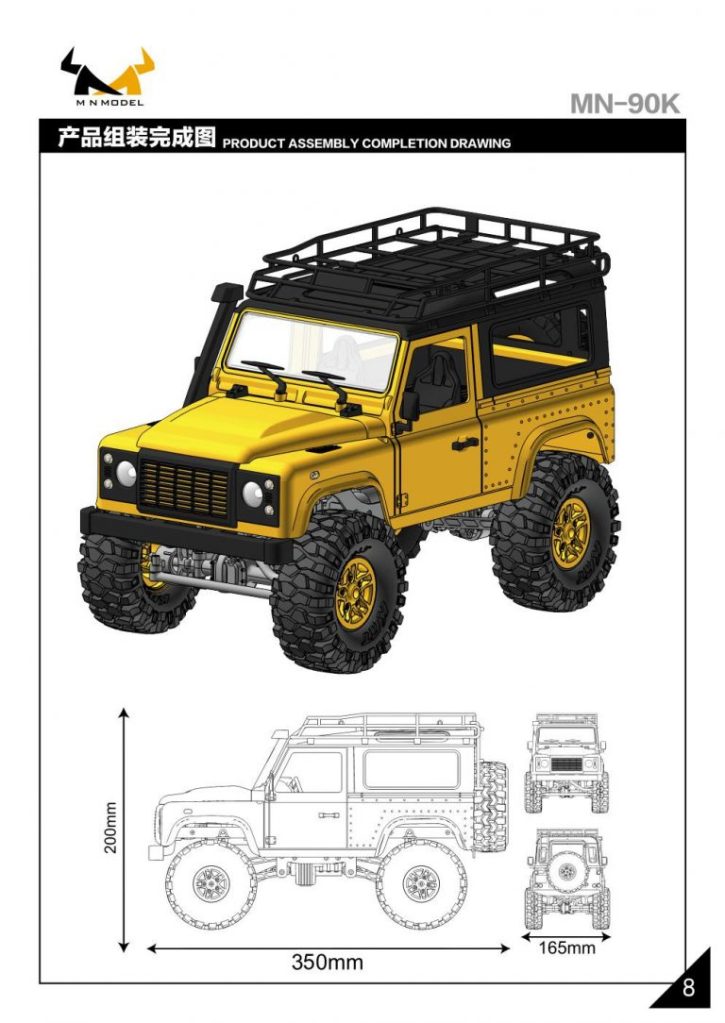
After having discovered the Chinese 1/12 scaled D90 MN-90 and, more forced than by choice, soon targeted some technical upgrades, we decided that we should try to convert one of our short-wheelbase “90” Defender bodies into a “110” long version of it. The smart and easy design of the chassis should not be an issue to extend, while all mechanical components could easily be re-used, with a slight extension of the rear prop-shaft ! The plastic body would be the hardest part to work on. Cutting it right, of course, but also adding the missing length panels and glue, or weld, them ? To answer that question, first, you must know that MN-90 body are made of ABS plastic.
To discover how to work on this plastic material, just visit the dedicated web-page about ABS plastic welding on our website.
Cutting the spare body
Of course, this part requires a bit of fore-thinking, as there are many ways of cutting to insert new panels. But only a few ways will give you a better result, and save time in finishing the future body lines.
Keeping the roof stripes aligned with the new roof length. Keeping the lateral sliding-windows at the right place. Adding two rear doors. Locating the alpine window at the right place. All this will require smart cutting…
Think twice, cut once. Better than the contrary…
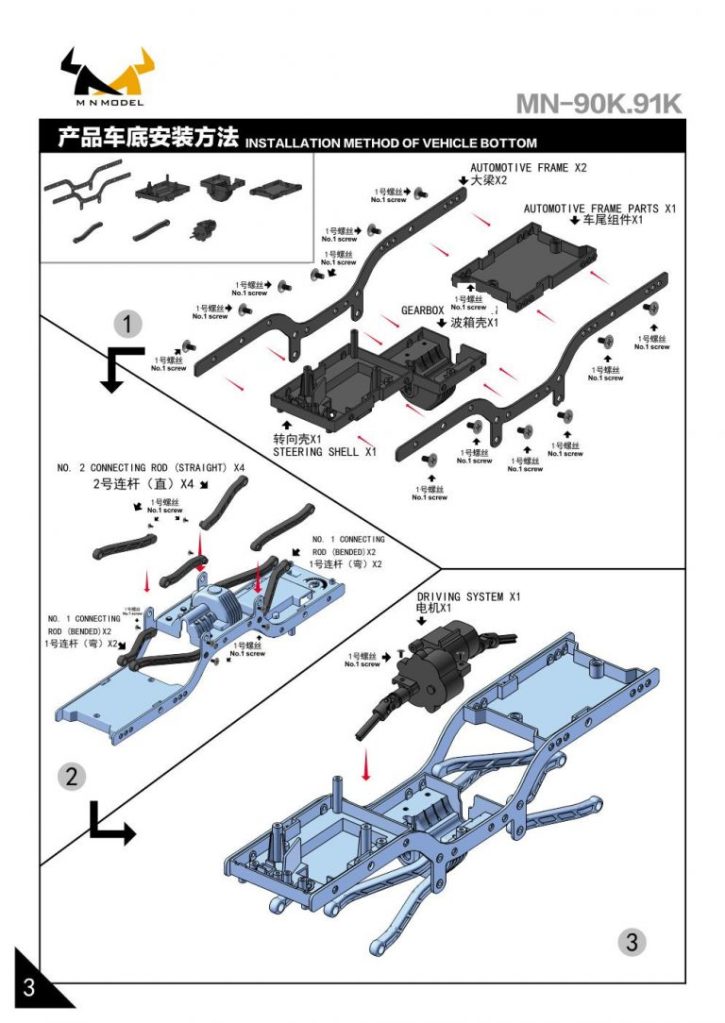
Chassis frame build
People do it in different ways: some are using the original untouched 90 frame, only extending the rod bars to the new wheelbase, some are cutting a D90 frame and tinker it patching, gluing, to make it longer. I chose the clean approach, which requires more work and tools. I build a new frame from an 1.5mm aluminium plate.
It took me around 2h maximum in total from raw plate stage to the ready-to-build 110 wheelbase frame.
I add 3.5cm in the middle section of the frame and 2cm at the back. Front obviously remains identical to the original, since the Defender 90 and 110 frames are same from the front up to the gearbox anchoring. So are the model versions.


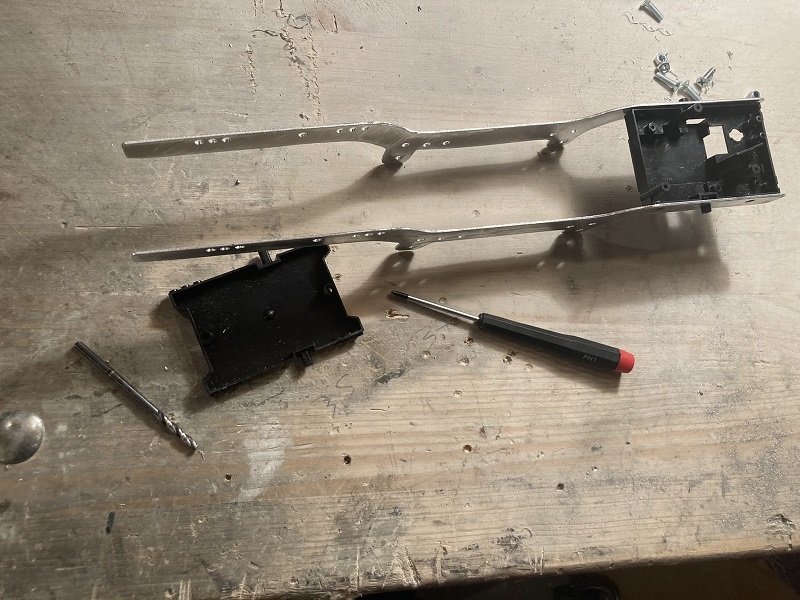
You can notice that the design was made slightly thicker than original on the sides of the frame. This gives extra durability and extra space if tinkering some fixing point is needed.
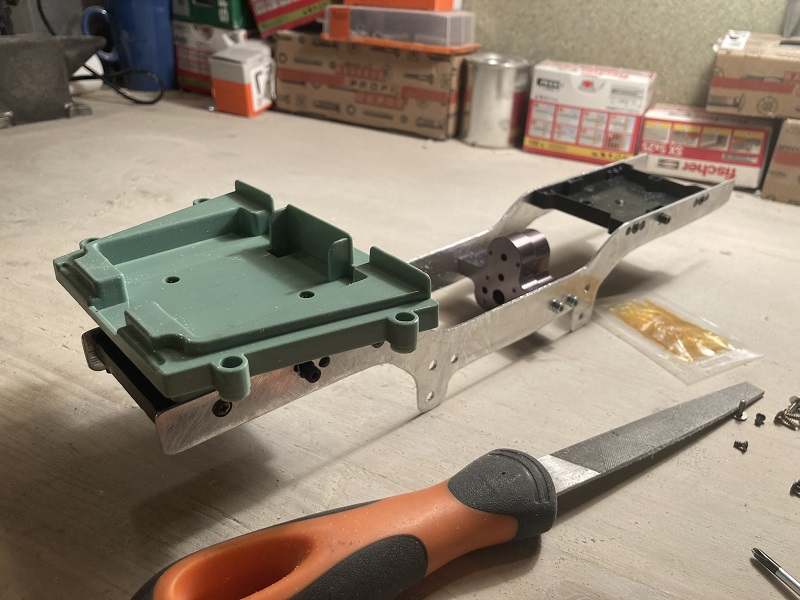
Some black paint and it looks ready to be assembled ! Very happy with the outcome and little effort to get there.

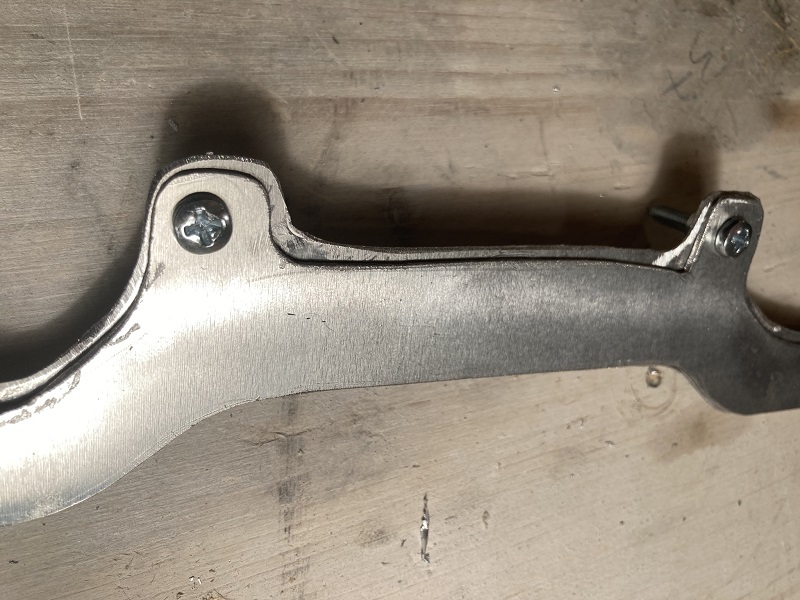
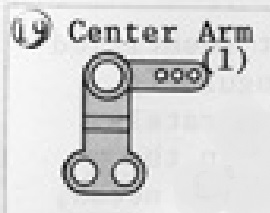
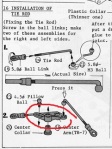
One of the only weak point of the Rocky is its “center arm” on the steering assembly. The “bell crank”, as some call it, had to be designed with an extremely flat shape, because is hidden under the front gearbox. The design makes it prone to break if no save-servo is used… Here is how it looks like:
The issue is that this part is almost impossible to purchase: it is one of the rarest parts set around ! It is not a question of the price it costs, but its availability worldwide.

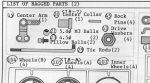


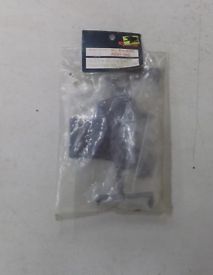
After years of hunt, we managed to locate a NIP set of the genuine RK5 “small plastic parts” bag which includes the precious part. We paid for the whole pack around 25 USD (to which we have to add the same amount for postage).
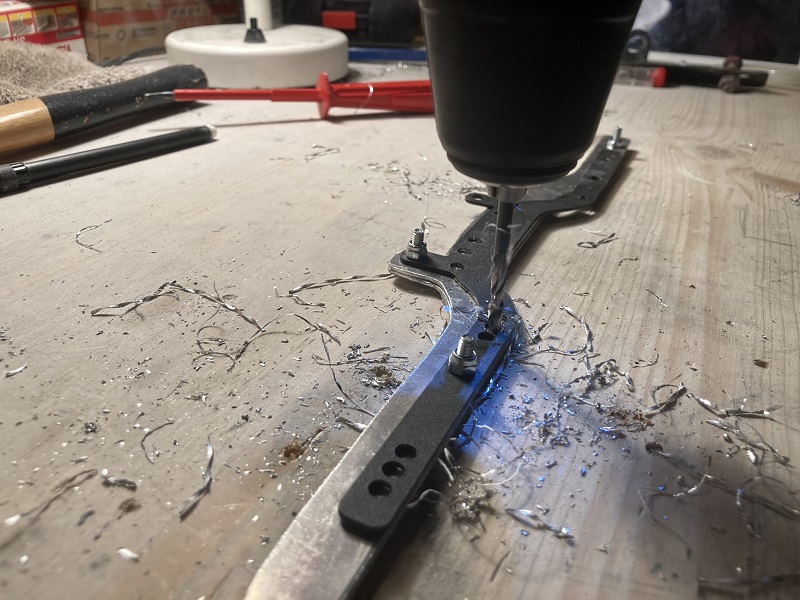
Not cheap… but there is an idea behind it. Today, we could easily improve the part to make it stronger, knowing exactly where it tends to break, and print it out of a 3D printer !
Another project to follow.
Stay tuned !
Interesting thread about the center arm problem there:
https://www.rc10talk.com/viewtopic.php?f=30&t=30504
The front single shock absorber setup tends to give a significant rolle to the front of the car. At speedy cornering, the external front wheel takes all the weight, inertia helping, and that even makes the internal REAR wheel to sometimes lift in tight situations.
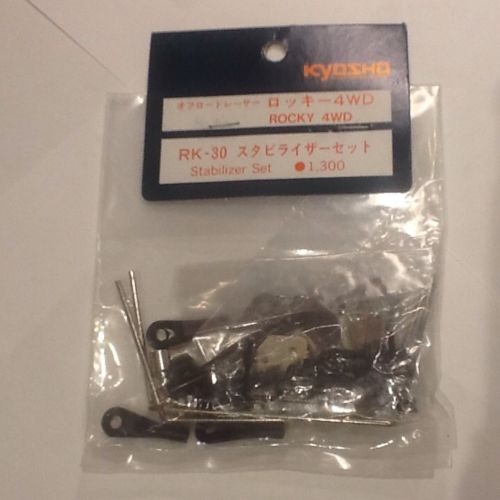
Kyosho issued a set of options for that: the RK30 set of front wheel stabilizers. This is the direct translation of anti roll bars on 1:1 cars. It simply prevents the wheel arms to move by avering the inertia pressure to each others:
On Ebay, you can locate those at less than 10$ each, NIP.
Here are our cars upgraded with those.
(to be continued)
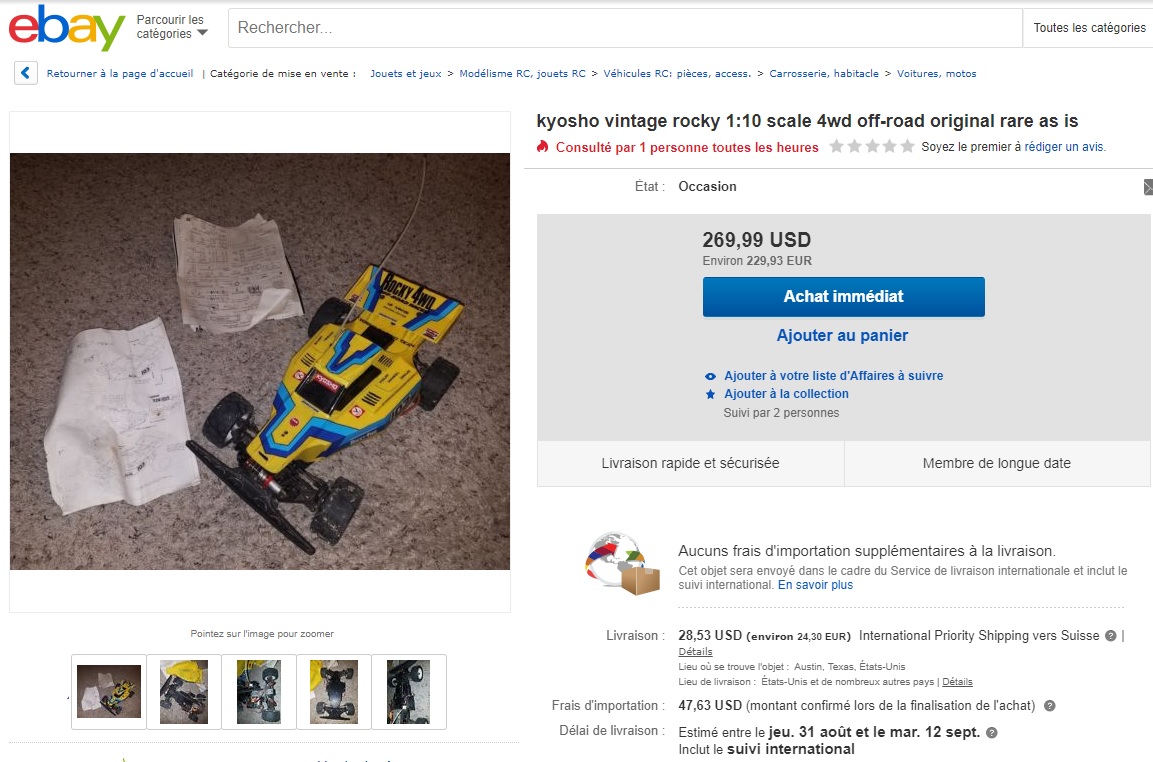
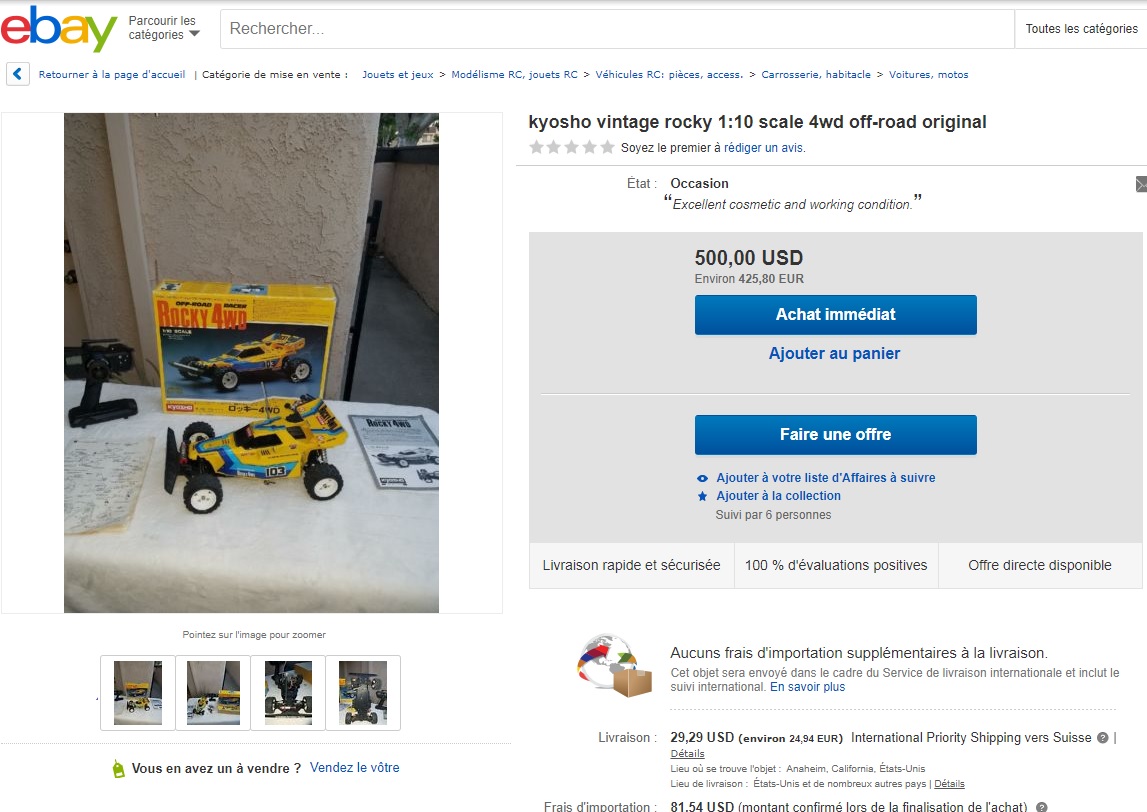
Hello, welcome into the delirium webpage following the offered Rockies on the web, sometimes at crazy prices.
Guys, just for your information if you want to buy or sell, we bought two “as new” (chassis hardly scratched) from Europe for around 250$ each, full genuine, including boxes, few spare parts, LeMans 240ST original engines, etc.
08/09/2017: second hand (quality 2/5, no box) from Taiwan / 210 US$ (+postage/taxes 45 US$)

18/08/2017: second hand (quality 5/5) from USA / 500 US$ (+postage/taxes 90 US$)
18/08/2017: NIB from South Korea (quality 5/5) / 891 US$ (+ postage 99 US$)

18/08/2017: second hand (quality 3/5, no box) from USA / 270 US$ (+postage/taxes 70 US$)